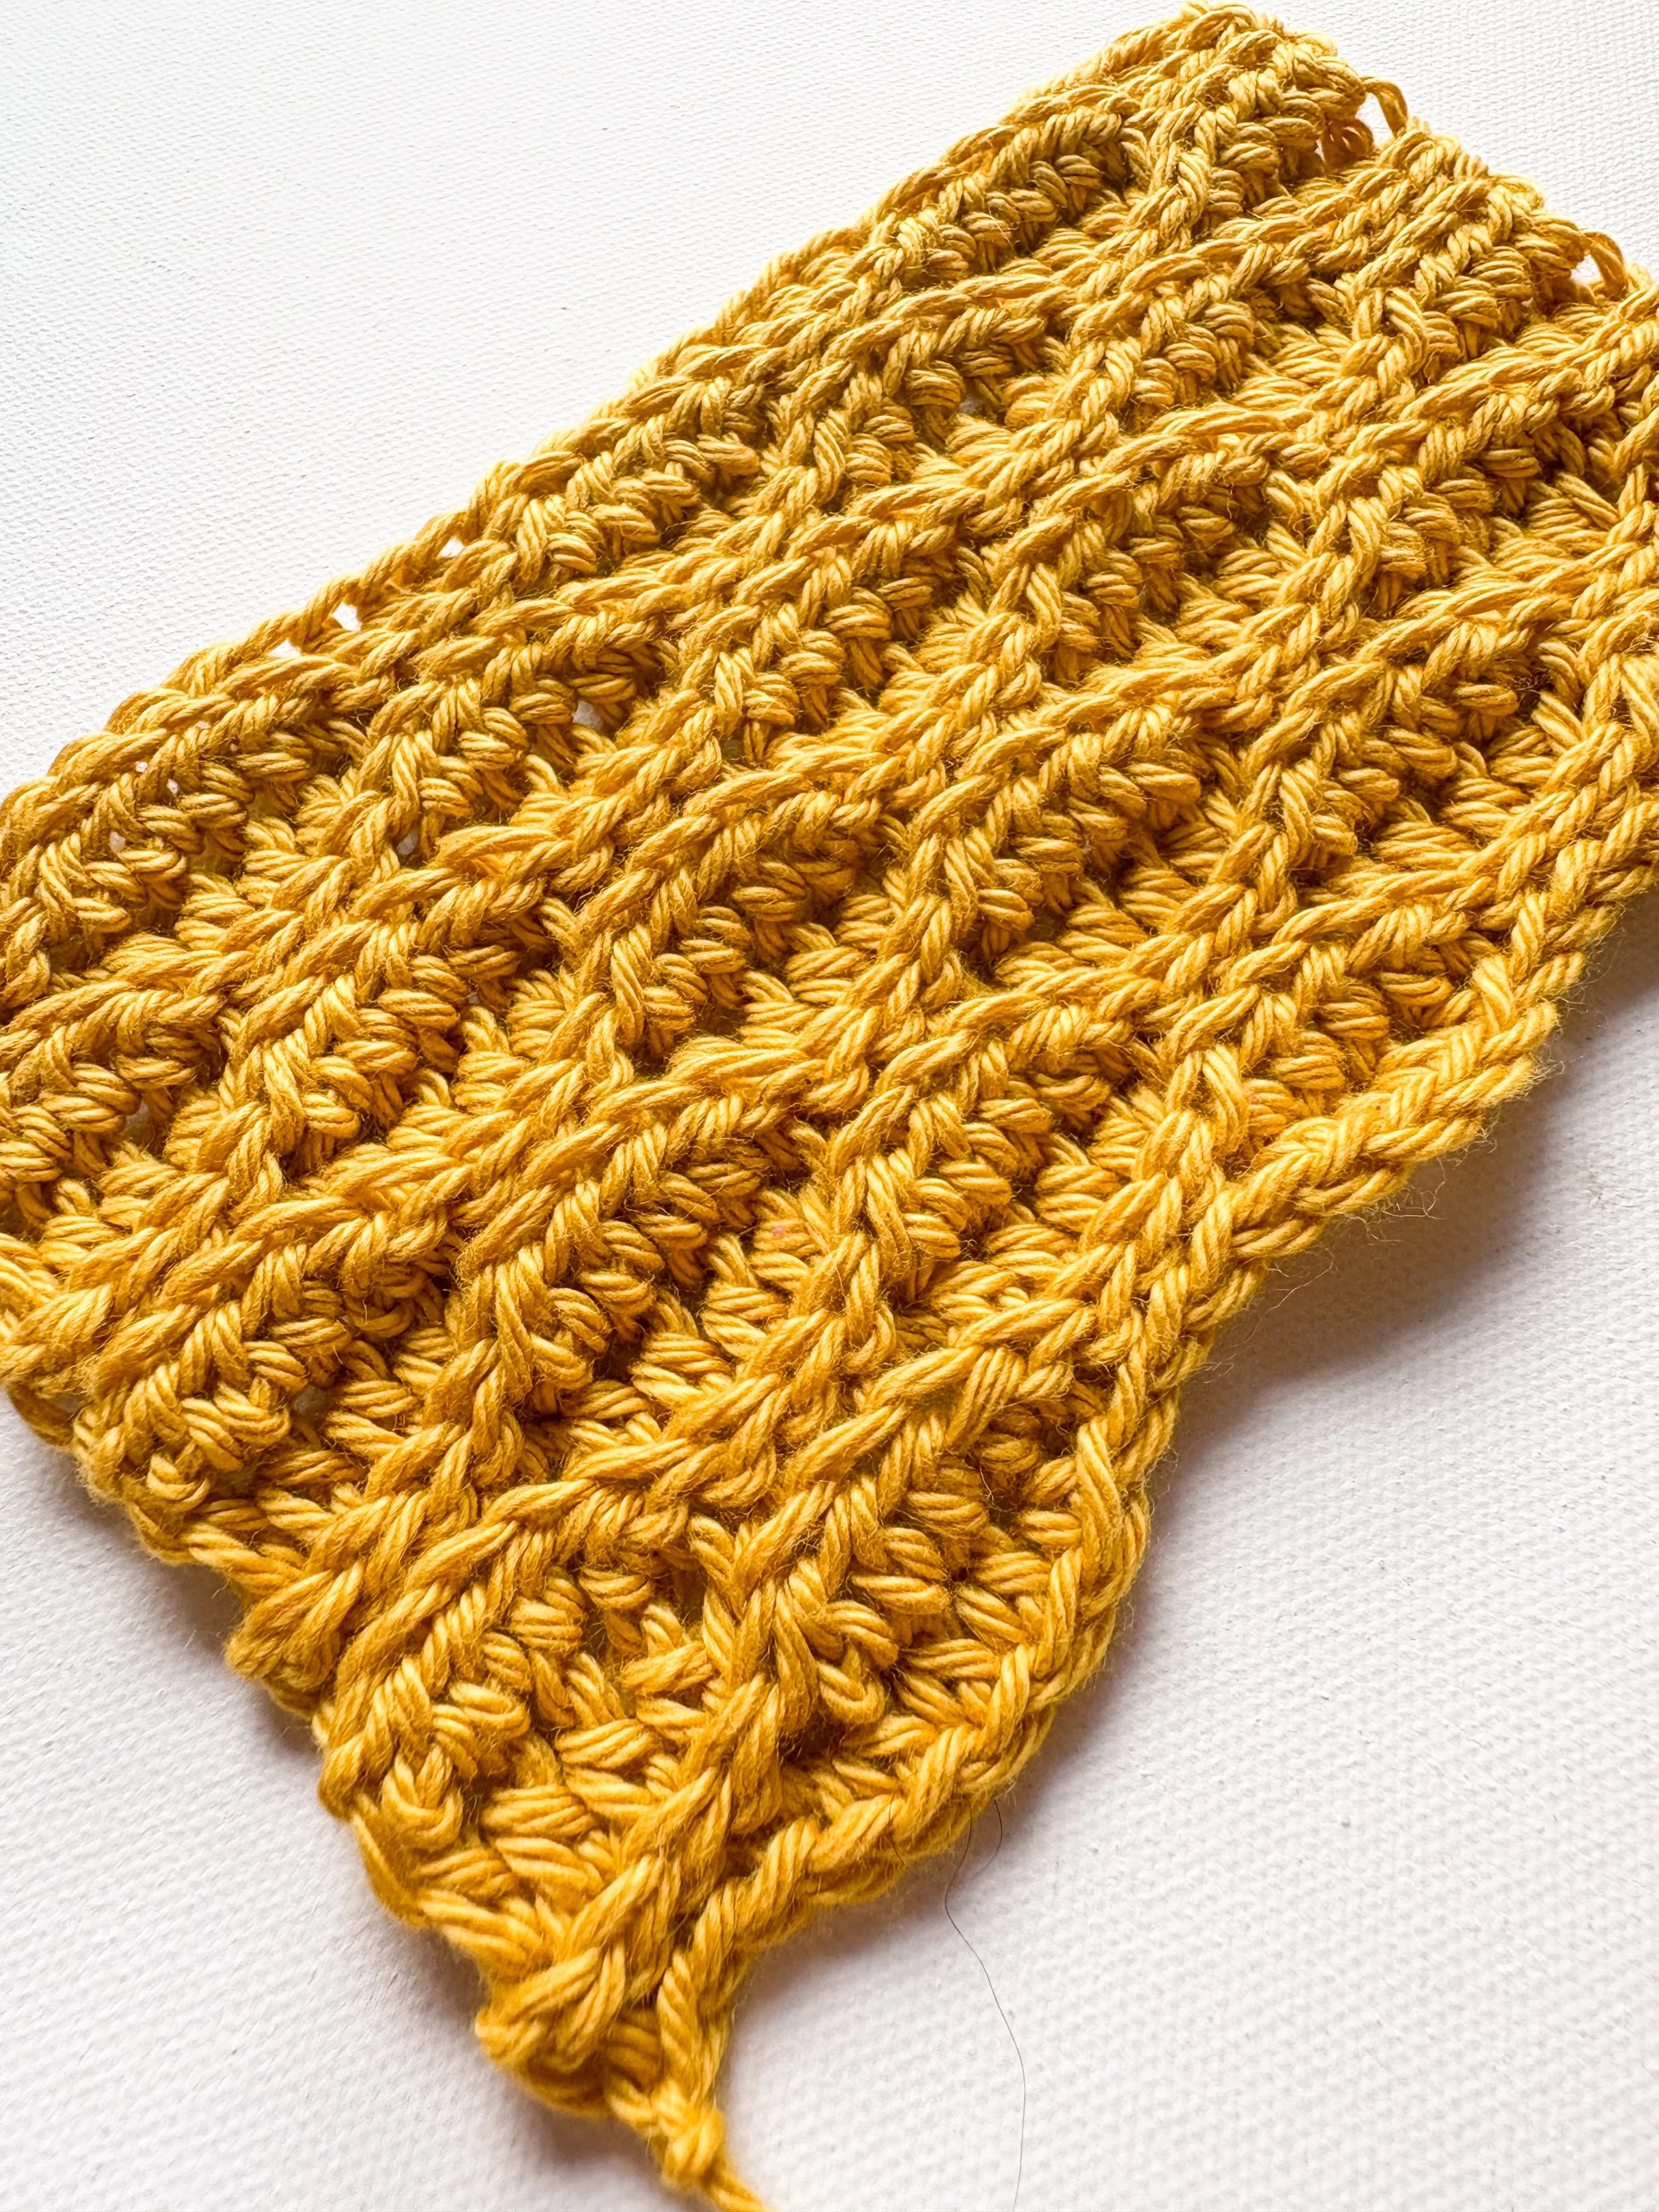
Unlock Beautiful Texture: Learn the Almond Ridges Crochet Stitch!
Hey there, fellow crochet enthusiasts! 👋 Ready to add a touch of delightful texture to your projects? Today, we're diving into the wonderful world of the Almond Ridges stitch!
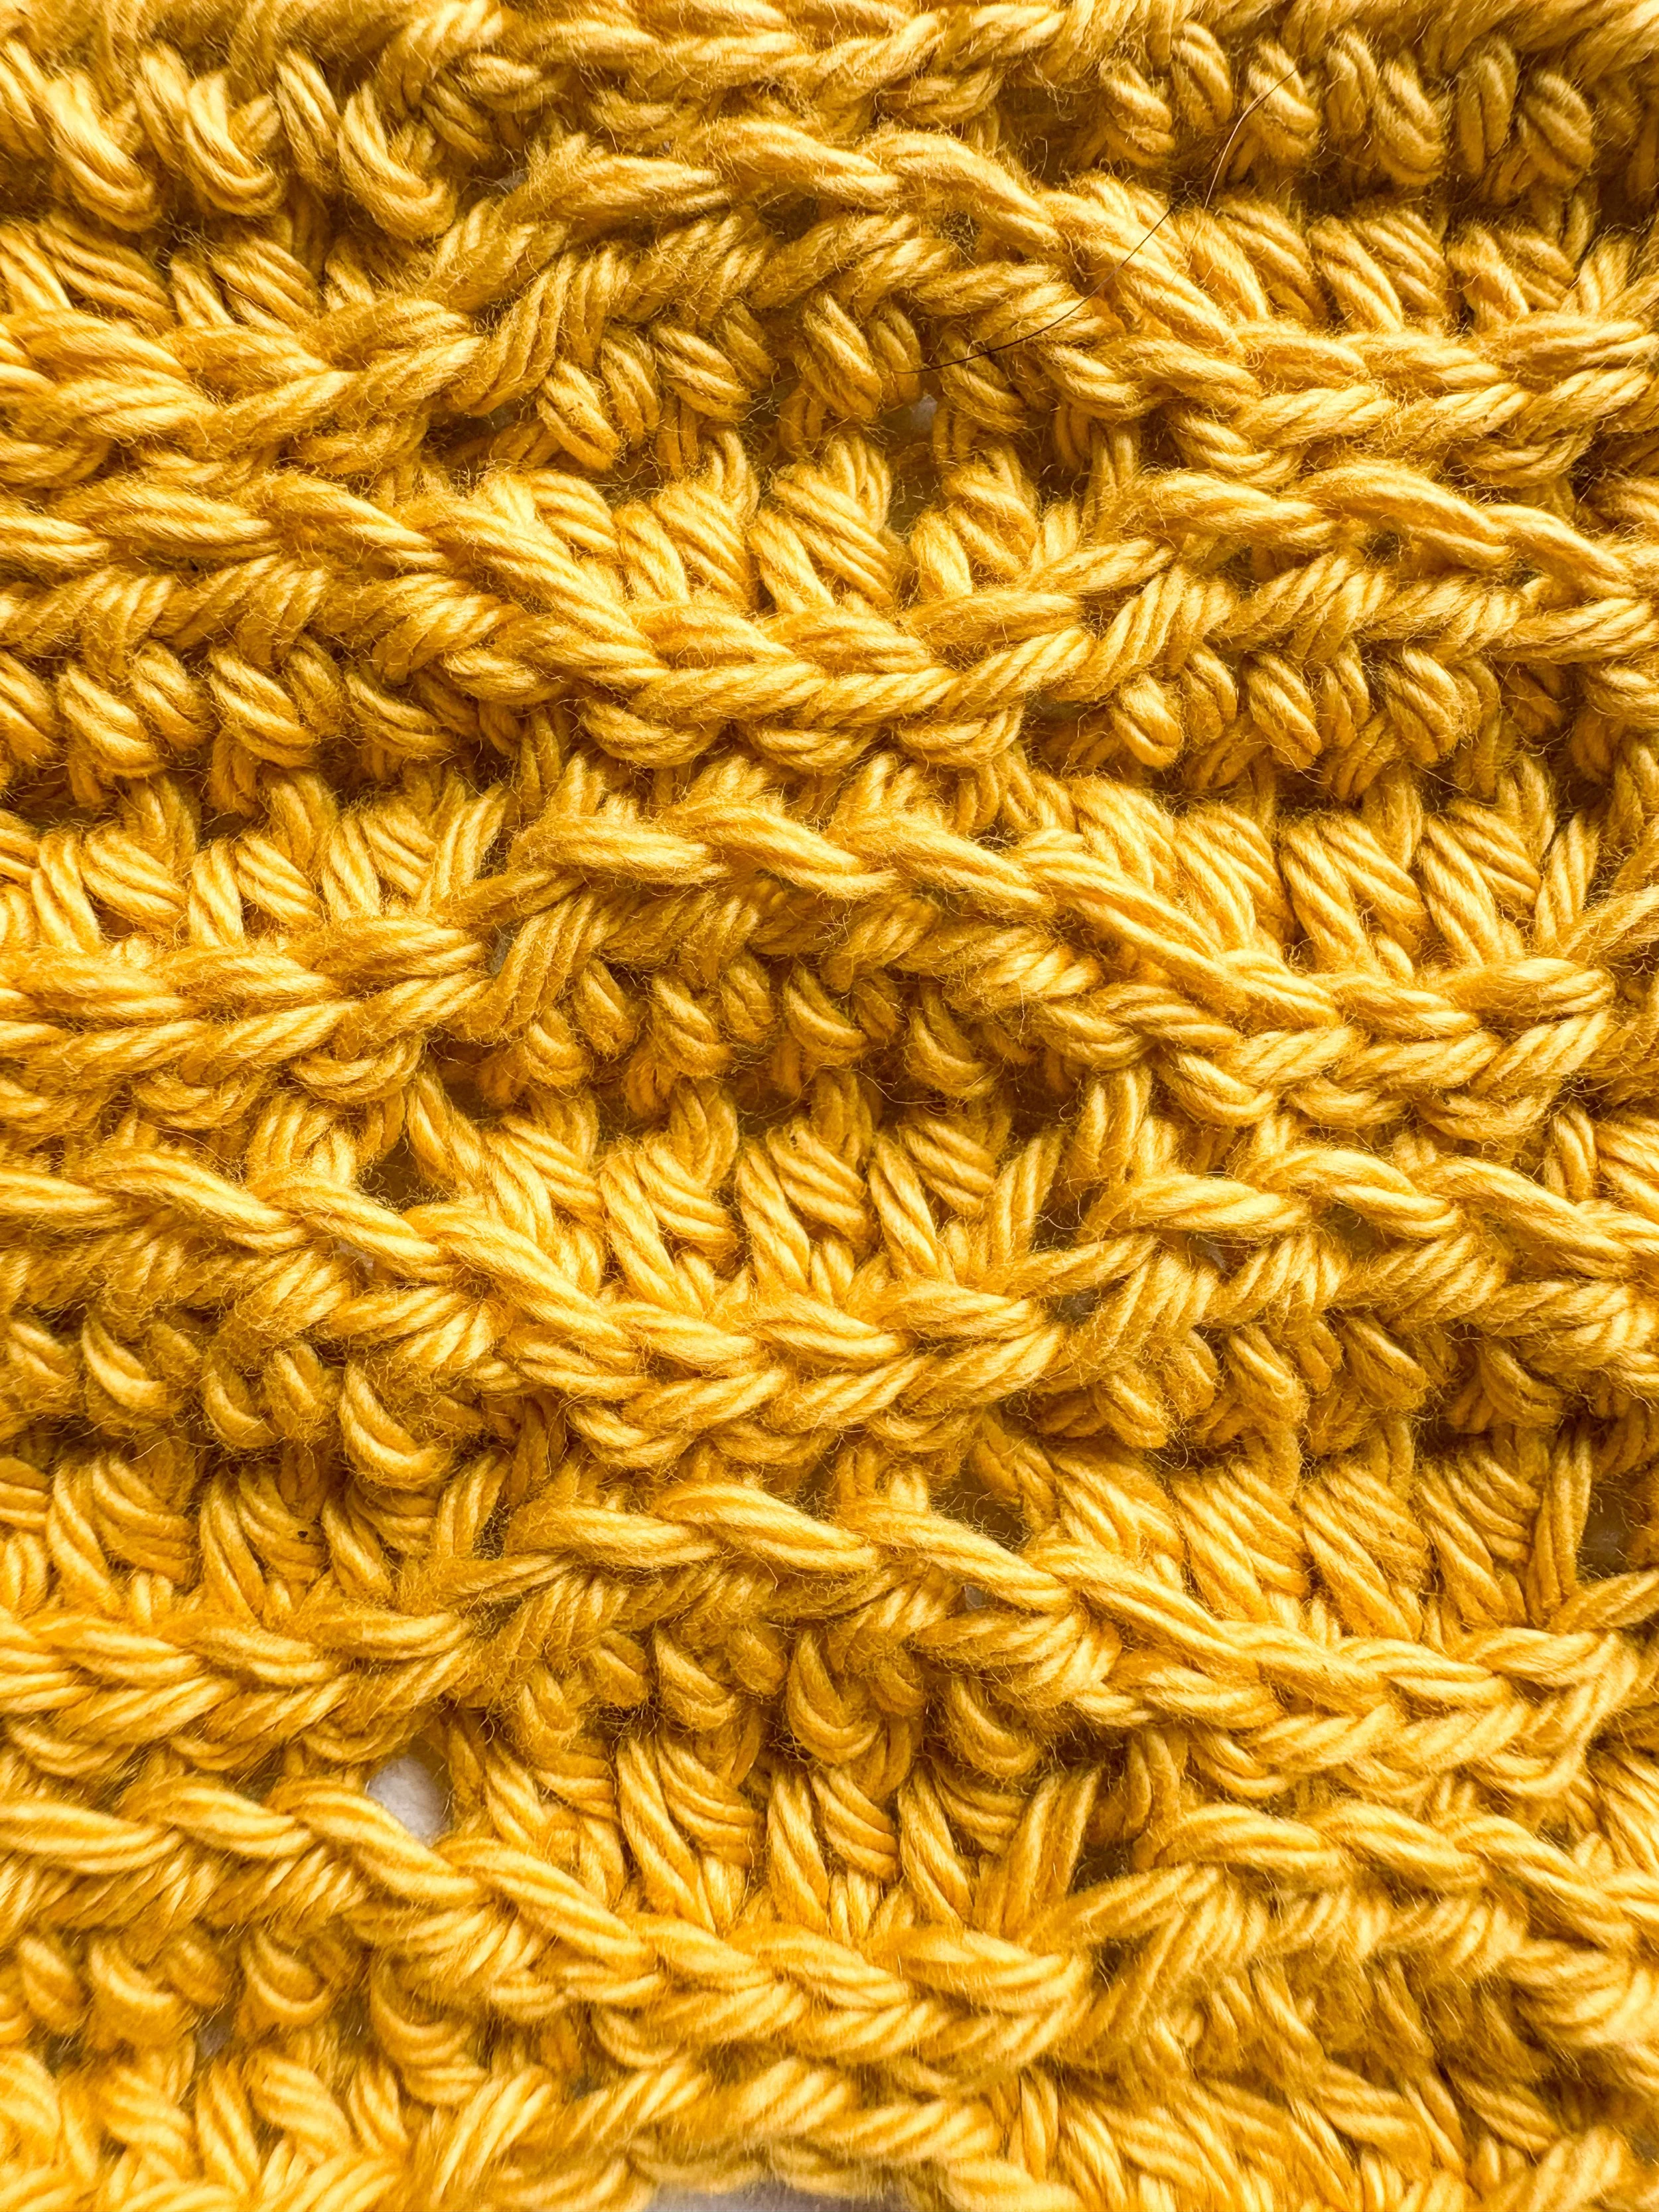
This stitch creates beautiful, subtle vertical ridges that look a bit like rows of almonds – hence the name! The best part? It's super easy to learn using just two basic stitches: the half double crochet (hdc) and the slip stitch (sl st).
Whether you're a seasoned crocheter looking for a new stitch to add to your repertoire or a confident beginner ready for your next adventure, the Almond Ridges stitch is a fantastic choice. It's perfect for blankets, scarves, dishcloths, or even adding a unique touch to garments.
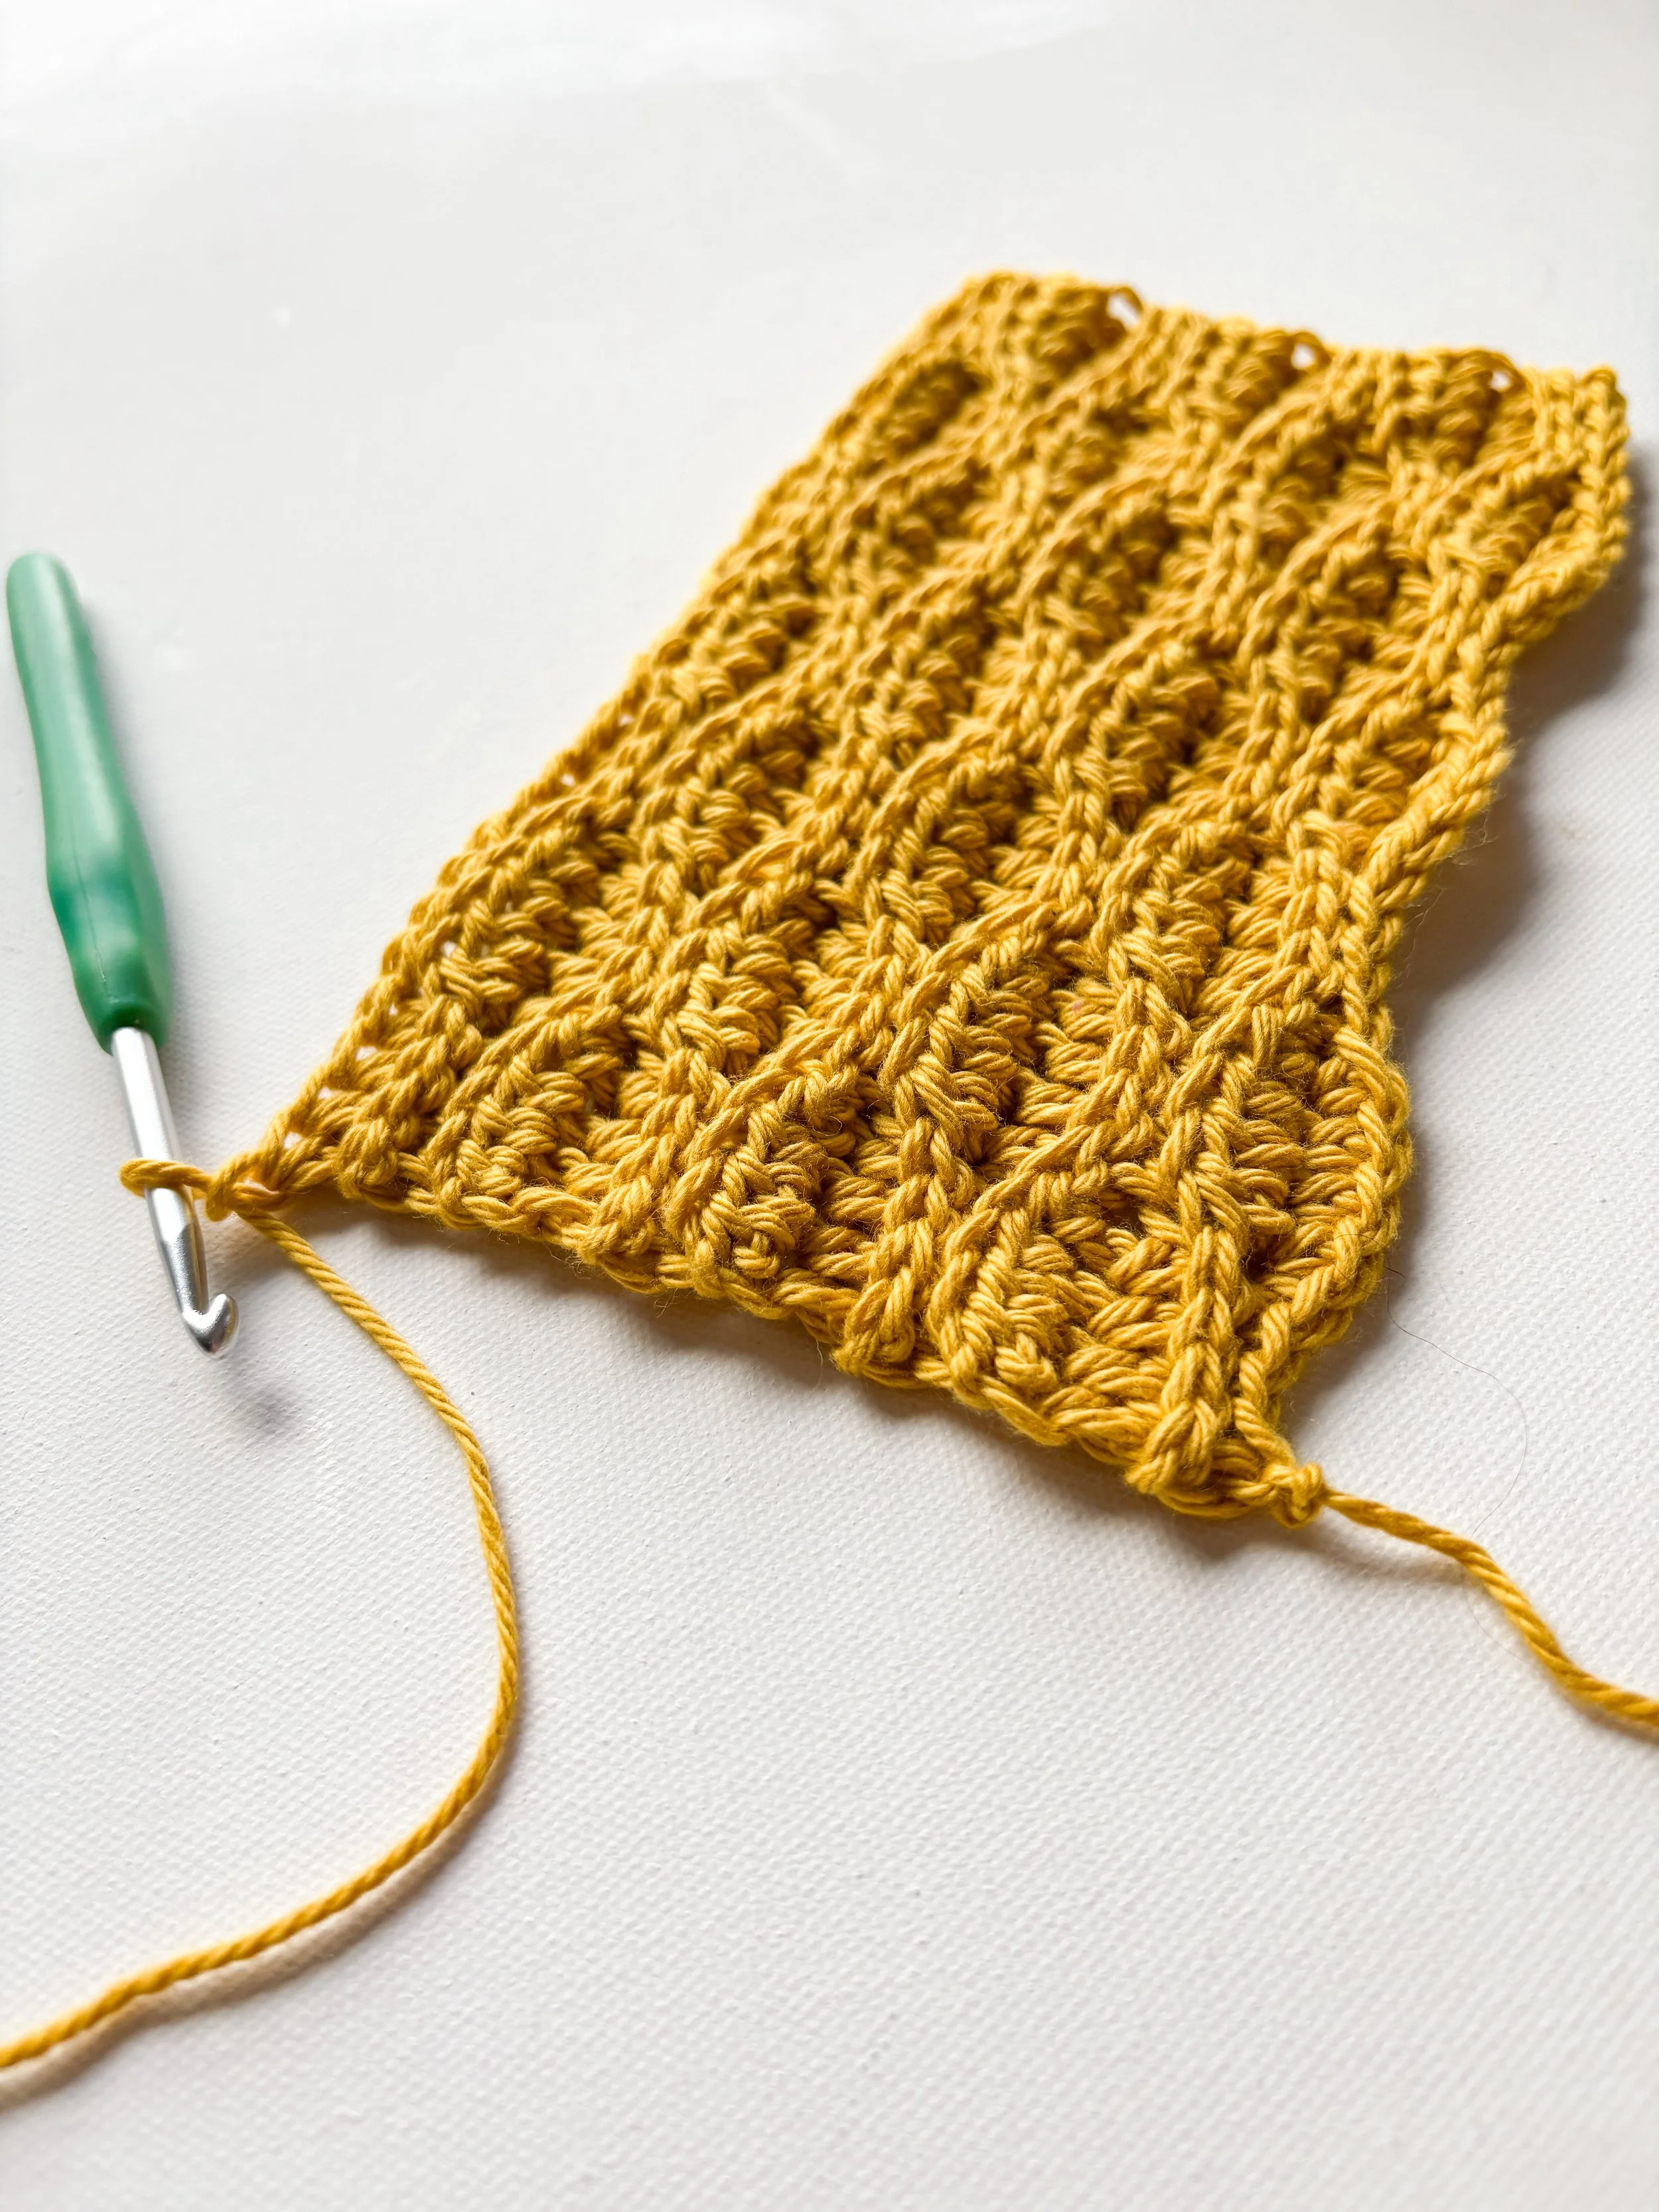
So, grab your hook and your favorite yarn, and let's get started on this fun and rewarding stitch!
Learn with My YouTube Tutorial!
Sometimes, seeing is believing! To make learning the Almond Ridges stitch even easier, I've included a video tutorial below. Watch along as the steps come to life, and you'll be a pro in no time!
What You’ll Need:
Your favorite yarn
A crochet hook that corresponds to your yarn weight
A pair of scissors
A yarn needle (for weaving in ends)
Abbreviations:
BLO - Back Loop Only
HDC - Half Double Crochet Stitch
REP - Repeat
SL ST - Slip Stitch
Notes:
This pattern is written in US Terminology and Imperial Measurements
This pattern is written in crochet shorthand. Example: "HDC 1" means to half double crochet in the next stitch and "HDC 30" means to half double crochet into the next 30 stitches
Written Instructions:
For those who prefer written instructions, here's a breakdown of the Almond Ridge Stitch:
Here’s How to Do It:
The Magic Formula: Half Double Crochet + Slip Stitch!
The Almond Ridges stitch is all about the interplay between rows of half double crochet and strategically placed slip stitches. This creates that lovely raised texture. Here's the breakdown:
Foundation Chain: Start by chaining a multiple of 8 + 5. The number of chains will determine the width of your project.
Row 1 (Right Side):
SL ST 1 in the second CH from hook
SL ST 3
*HDC 4
SL ST 4
REP from * to end of row.
Turn.
Row 2 (Wrong Side):
CH 1 (this does not count as a stitch)
*SL ST BLO 4
HDC BLO 4
REP from * to end of row.
Turn.

Row 3:
CH 1.
*HDC BLO 4
SL ST BLO 4
REP from * to end of row.
Turn.
Row 4: REP row 3
Row 5: REP row 2
REP Rows 2 through 5 to create the Almond Ridges pattern.
See how simple that is?
Tips and Tricks for Perfect Almond Ridges:
Tension is Key: Try to keep your tension consistent throughout your project. This will ensure that your ridges are even and your fabric lies flat.
Counting is Your Friend: Especially when you're starting out, count your stitches at the end of each row to make sure you haven't accidentally added or dropped any.
Practice Makes Perfect: Don't worry if your first few rows don't look exactly like the picture. Keep practicing, and you'll get the hang of it!
Experiment with Yarn: The Almond Ridges stitch looks beautiful in various yarn weights and fibers. Try it out with different yarns to see how the texture changes.
Want to see this stitch in action?
Check out my video tutorial, where I demonstrate each stitch step-by-step.
Remember: The more you work with these stitches, the easier they'll become. Then you’ll be working up projects like the ones below!
Get Creative with Almond Ridges!
Now that you've mastered the Almond Ridges Stitch, let's explore some fun project ideas:
Cozy Blankets: The texture adds a lovely tactile element.
Stylish Scarves: Create a unique and eye-catching accessory.
Textured Dishcloths: The ridges can add a bit of scrubbing power.
Unique Pillow Covers: Add a touch of handmade charm to your home decor.
I'm so excited for you to try out this wonderful stitch! It's a fantastic way to add texture and visual interest to your crochet projects without being overly complicated.
Happy crocheting, and don't forget to share your Almond Ridges creations! I'd love to see what you make!

Free Crochet Skills Checklist
I’ve created a pathway for crocheters to learn the skills they need to make beautiful things without the added frustrations!