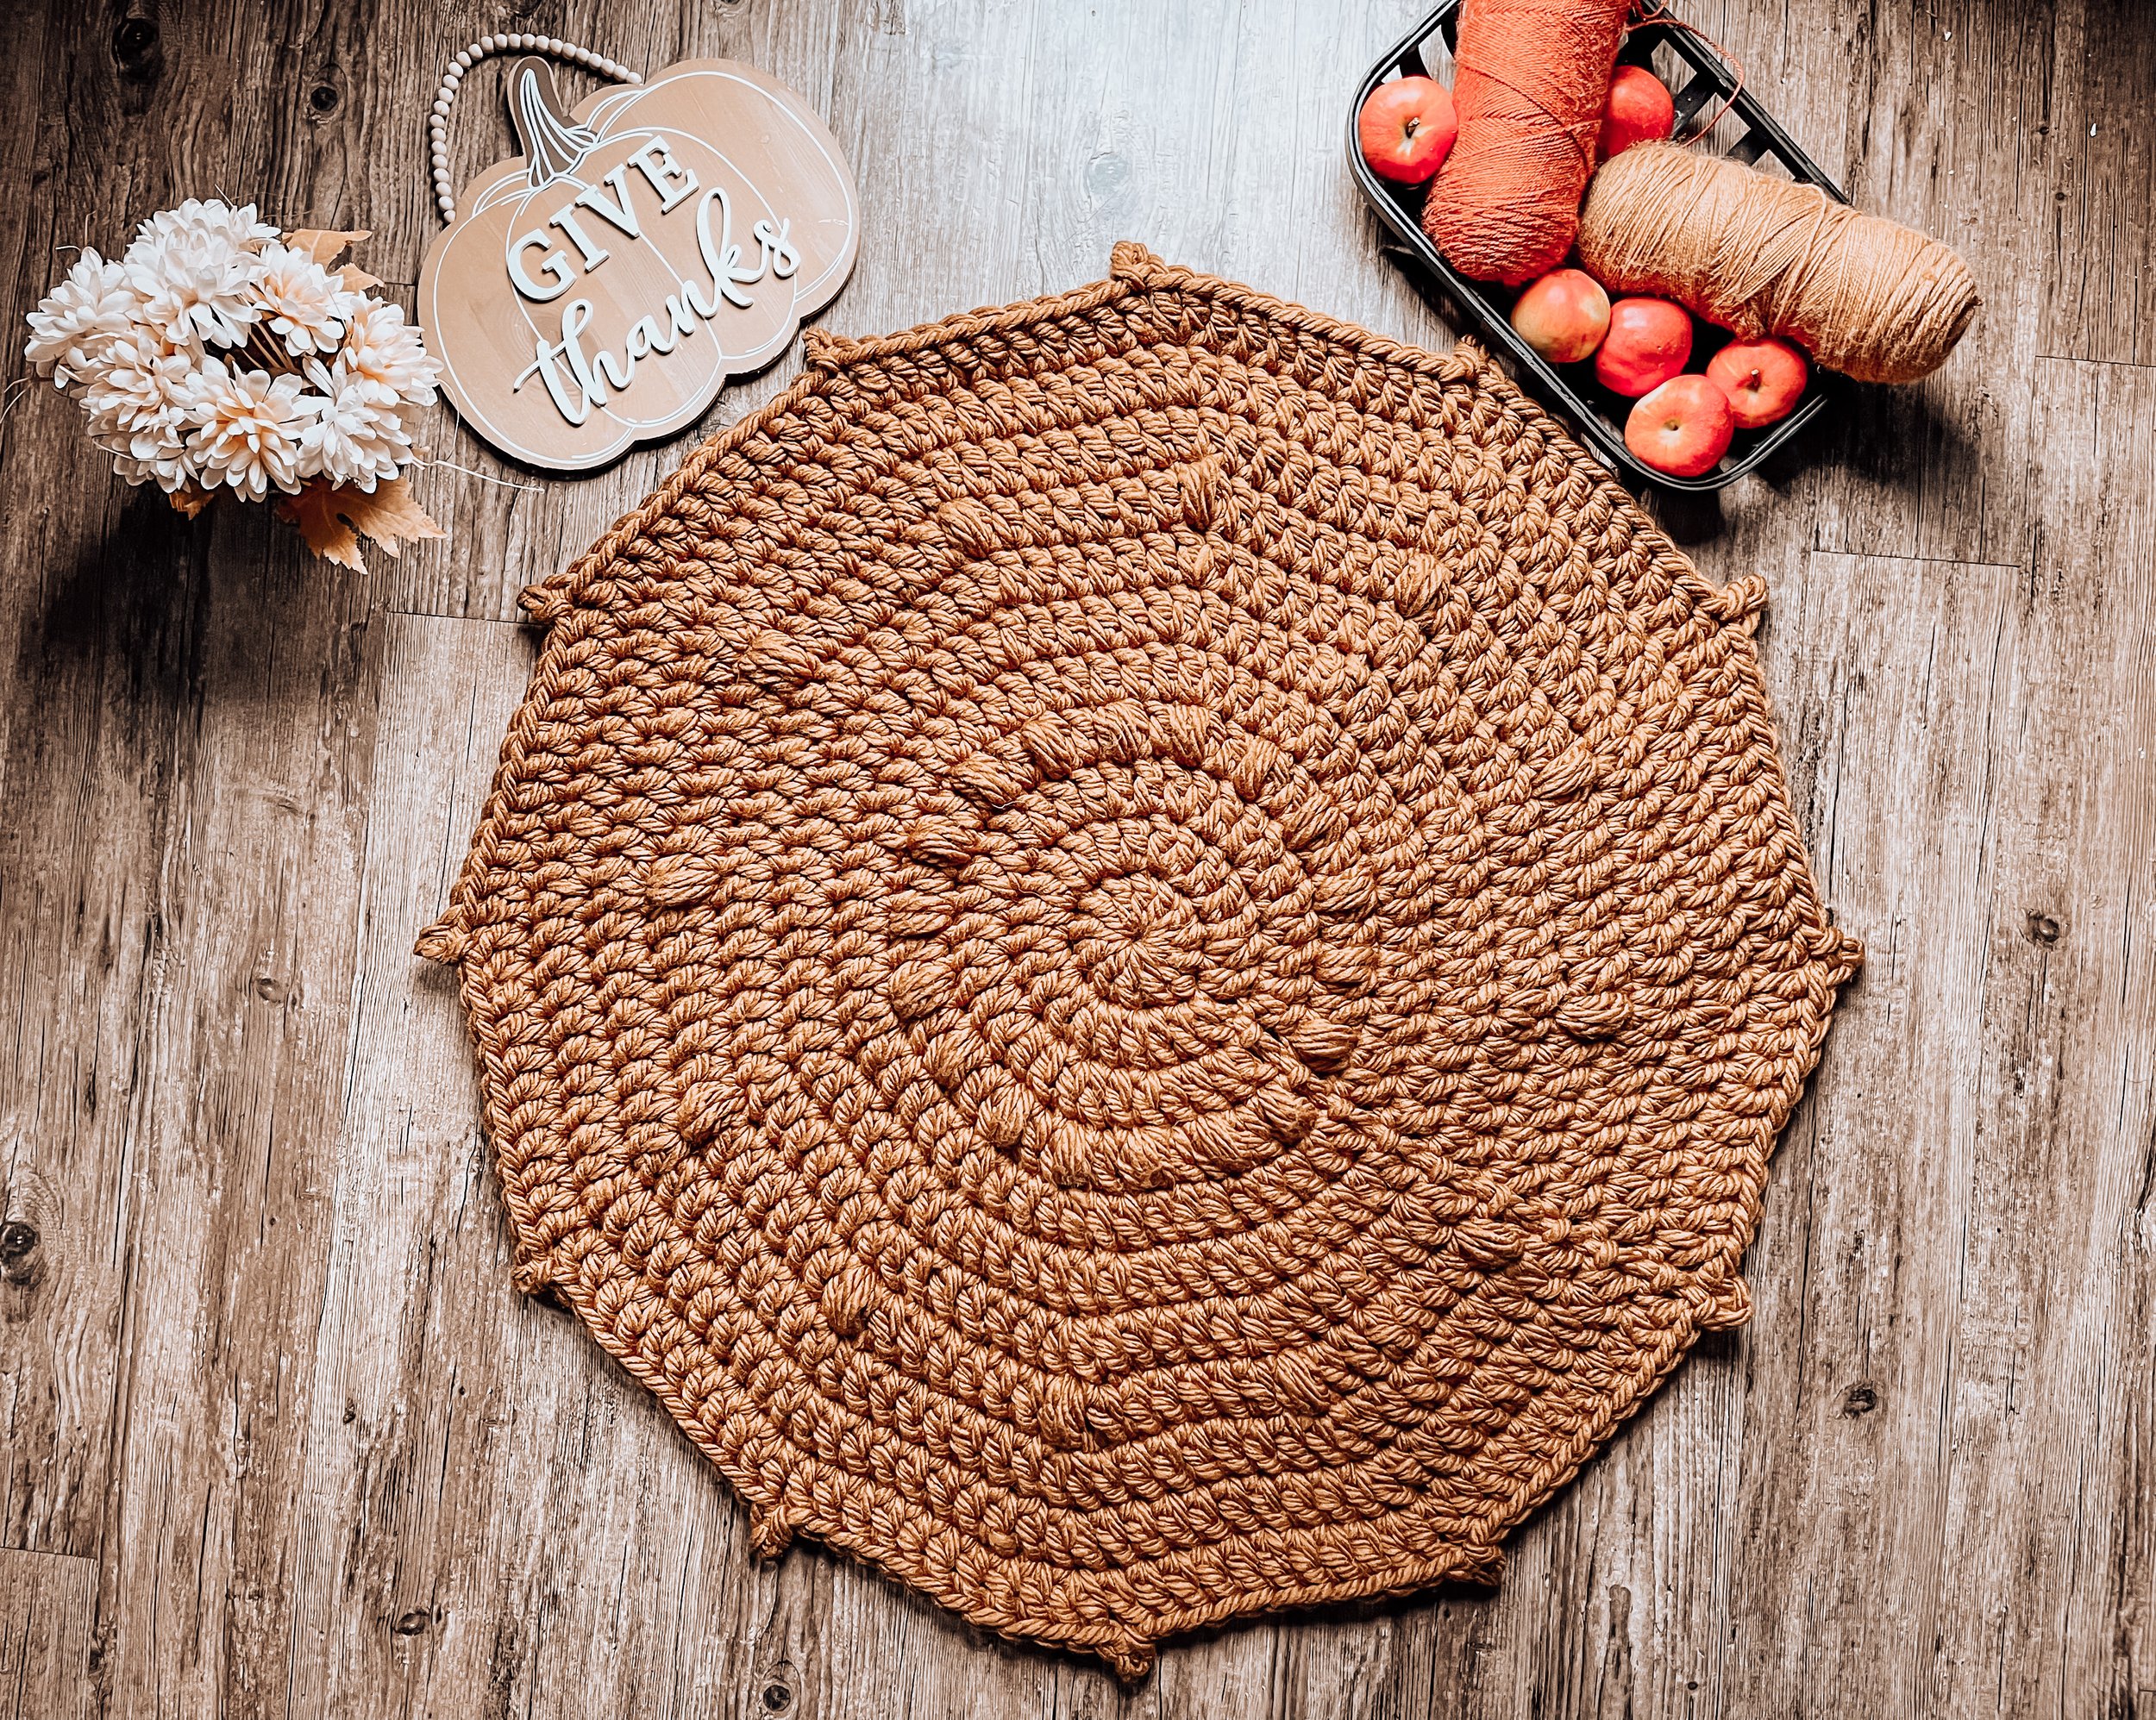
How to Crochet a Circle Rug

I was drinking my pumpkin cream cold brew the other day and I got inspired to make a puffy, pumpkin-colored crocheted rug! So, if you want to learn how to crochet a rug then you’re in the right place. I’ll be taking you step by step until you have a Fall inspired crochet rug to match all of your pumpkins. Watch the video tutorial below and follow the free written crochet pattern. The ad-free printable PDF pattern is available for purchase here:

About:
Here’s a bit about the pattern to see if it’s a good fit for you!
Skill Level: Easy
Crochet in the round
Slip Stitch
Double crochet
Puff stitch
Picot Stitch
Supplies
*6 skeins (396 yards/1,440 grams) of Wool Ease Wow! By Lion Brand Yarn (the color used in the tutorial is Flax). Weight: Jumbo 7
*Alternative: 5mm Cotton Cord by Ganxxet use code BAGSBYBENTO10 for 10% off
Q/15.75mm crochet hook
Scissors
Optional: non-slip rug mat

Abbreviations (US Terms)
ch - chain
dc - double crochet
inc - increase
ps - puff stitch
rem - remaining
rep - repeat
sl st - slip stitch
tog - together
Gauge
12 dc and 1 round = 5 in (13 cm) x 5in (13 cm)
or 5 dc and 2 rows = 4 in (10 cm) x 4 in (10 cm)square
Finished project measurements:
Diameter approximately 39 Inches across
Circumference is approximately 122.5 inches around
Notes:
This pattern is written in crochet shorthand. Example: "dc 1" means to double crochet in the next stitch and "dc 30" means to double crochet into the next 30 stitches.
Starting ch always counts as first stitch
The ps always has a closing ch1
Pattern may include affiliate links that are marked with an *. If you make a purchase using the affiliate link, I receive a small commission at no extra cost to you.
2022, Bags by Bento, LLC
Please do not share (as your own) or sell this pattern. Finished projects may be sold, but please give pattern credit on socials @bagsbybento
If questions come up you can comment below or email me at bagsbybento@gmail.com
Instructions
Round 1:
Magic circle or CH 4 & SL ST ends TOG
CH 2
DC 11 into circle
SL ST to top of CH 2
(12 dc)
Round 2:
CH 2
DC 1 in same ST
(INC) REP 11 times
SL ST to top of CH 2
(24 DC)
Round 3:
CH 2
INC
(DC 1, INC) REP 11 times
SL ST to top of CH 2
(36 DC)
Round 4:
CH 3
DC 1
PS 1
(DC 2, PS 1) REP 11 times
SL ST to top of CH 3
(24 DC, 12 PS)
Round 5:
CH 2
DC 2
INC
(DC 3, INC) REP 11 times
SL ST to top of CH 2
(60 dc)
Round 6:
CH 2
DC 3
INC
(DC 4, INC) REP 11 times
SL ST to top of CH 2
(72 DC)
Round 7:
CH 2
DC 4
INC
(DC 5, INC) REP 11 times
SL ST to top of CH 2
(84 DC)
Round 8:
CH 3
DC 5
PS 1
(DC 6, PS 1) REP 11 times
SL ST to top of CH 3
(72 DC, 12 PS)
Round 9:
CH 2
DC 6
INC
(DC 7, INC) REP 11 times
SL ST to top of CH 2
(108 DC)
Round 10:
CH 2
DC 7
INC
(DC 8, INC) REP 11 times
SL ST to top of CH 2
(120 DC)
Round 11:
CH 2
DC 8
INC, Picot
(DC 9, INC, Picot) REP 11 times
SL ST to top of CH 2
(132 DC, 12 Picot)
Tie off & weave in ends (yarn is too chunky for a sewing needle. I recommend using a slightly smaller crochet hook to weave in the ends. A 10mm hook works well)
Optional:
Place a non-slip rug mat underneath the rug (you can attach with safety pins if you want them to stay together)
Enjoy your Fall festive rug and don’t forget to check out the other free patterns here on the blog!